Timelapse screen recording of separate X displays
Update 2014-04-8: See this post on how to deal with two monitors on a single X screen.
This post is for those with separate X displays, who want to do timelapse screencapture. There are many utilities for doing this kind of timelapses, in particular, I'd recommend chronolapse, which does a very good job, even with multiple monitors. If that works for you, then go for it! However, if you have trouble with it working for separate X-displays as I did, or just want more control, read on!
The post is broken up into small steps, which are put together as a complete script.
There is also a demo video made using this script at the very bottom.
1. Capturing screenshot of full X display
There are several ways to take a screenshot from the command line. The
two most interesting utilities are
Since using
2. Specifying which X to use
The environment variable
DISPLAY=:0.1 gedit
Putting it together with the
DISPLAY=:0.1 xwd -root -out screenshot-right.xwd
3. Creating the thumbnail
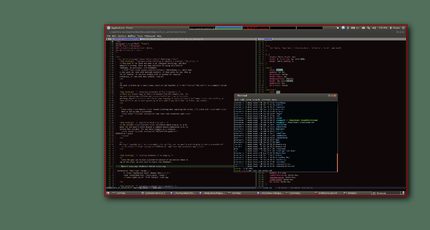
Since the goal was to have a picture-in-picture of one monitor shown on
top of the other, we will have to create this thumbnail. This is where the
ImageMagick utilities shine. First let's grab a screenshot:
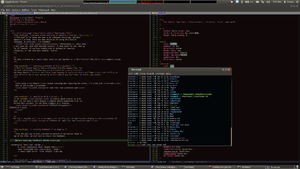
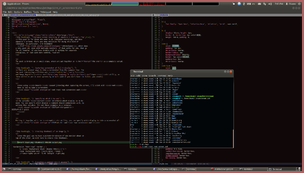
Now, lets add a 2-pixel border, with the color
convert screen.xwd -thumbnail 300x300 \
   -bordercolor "#881111aa" -border 2 thumbnail-border-300px.png
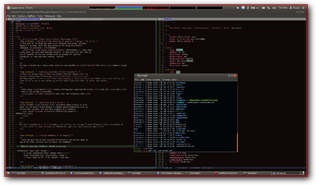
Let's add a nice falloff shadow, on a white background (so you can see it).
convert screen.xwd -thumbnail 300x300 \
   -bordercolor "#881111aa" -border 2 \
   \( +clone -background black -shadow 100x3+2+2 \) \
       +swap -background white -layers merge +repage \
       thumbnail-border-shadow-whitebg-300px.png
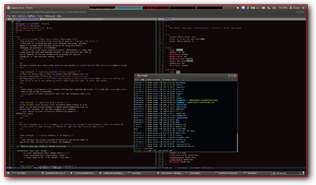
And of course, we want a transparent background, so for the sake of completeness:
convert screen.xwd -thumbnail 300x300 \
   -bordercolor "#881111aa" -border 2 \
   \( +clone -background black -shadow 100x3+2+2 \) \
       +swap -background none -layers merge +repage \
       thumbnail-border-shadow-nobg-300px.png
4. Overlaying images.
Again,
Here is how
to place
convert -composite image-large.png thumbnail.png \
   -geometry +100+20 imageoverlay.png
5. Executing a command every X seconds
To execute a command every
This will exceute the script
6. Final script
Putting together the various pieces mentioned so far, this is the final script.
7. Bonus - rendering video
A
While I wrote this post, I had the above script running, and this is the produced video:


